Pages

Wednesday, April 30, 2014

Sweet Digi Goods on Sale!

It's Wednesday ... or One Buck Wednesday as we like to call it around here!

http://www.snapclicksupply.com/sale/?sort=newest

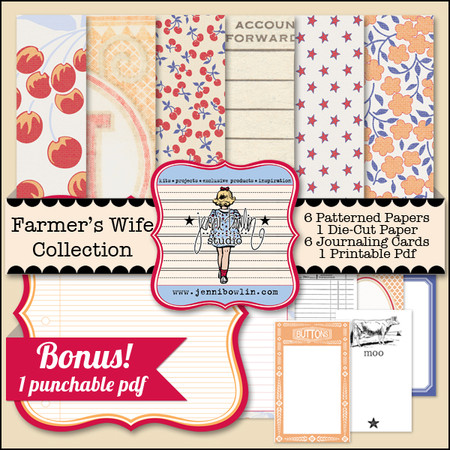
Today, the Jenni Bowlin Studio Digital Shoppe is offering Farmer's Wife at 50% off:

http://www.snapclicksupply.com/designers/jenni-bowlin-studio/farmers-wife-collection/


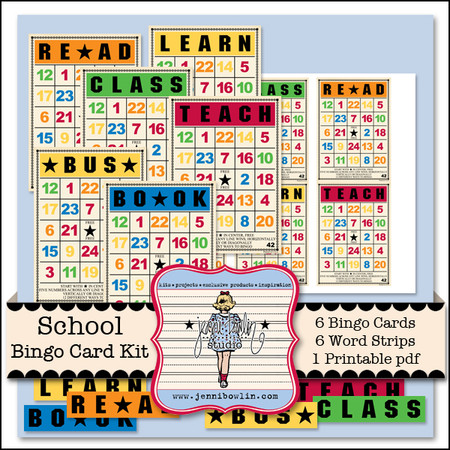
http://www.snapclicksupply.com/designers/jenni-bowlin-studio/school-bingo-card-kit/


Audrey Tan created this beautifully layered digital layout using Farmer's Wife as a focus:


Supplies:
Jenni Bowlin Studio: Farmer's Wife Collection, School Bingo Card Kit, Bird And Branch, Rhinestone Buttons & Bows, Date Labels, Chalkboard Alphabet Red On Cream
Gennifer Bursett: This Is Why (doily)
Anna Aspnes: ArtPlay Palette Chance (paint), ArtPlay Palette Harvest (paint)
Angie Young: Color Play 4 (lace)
Fonts: Minneapolis, Minya Nouvelle


Nirupama Kumar created these wonderful teacher's mini books using the School Bingo Card kit and traditional JBS products.


What an amazing end of the year gift or memory keeper this would be!

Hurry on over to Snap Click Supply Company as these kits and other digital products are only on sale through midnight PT today!


Welcome Our April Guest, Joy Muscillo!

This month we welcome Joy Muscillo, owner of Joybells Scrapbooking, as our April Guest!  Here she is pictured in her shop with an armful of flowers for a recent scrapbooking function. You can see more of her beautiful work in our April gallery.

I have been married to my wonderful hubby – Frank for 32 years. We have two adult children – Rebecca (27) who is married to Mick and has two gorgeous children Seth (6 years) and Tate (2 months); and James (25) who is engaged to Kelly. We live in Landsborough, Queensland, Australia (about 1hr north of Brisbane), on a beautiful 53 acre property.

I have been doing craft for most of my adult life – cross-stitch, hand made quilting/patchwork, photography (both my Mother & Grandmother were good at sewing, knitting & crochet). I started scrapbooking 16 years ago, and had a dream of opening my own shop for many years. 4 years ago I opened Joybells Scrapbooking – my “dream” shop & love it! I love scrapbooking, card making & off-the-page projects (my favourite is mini albums). I have  had my work published in Australian magazines. I was so excited & proud to have Jenni Bowlin come & teach at the shop in 2013!
This is an Easter layout I did using the April JBS Mercantile Papercrafting Kits – it was my grandson Tate's first Easter this year, so it was lovely to do this page for his album.
(and my daughter, Rebecca, made the amazing Chocolate Easter cake!)
I do have a craft room at home, but I do most of my designing/crafting in the shop (even after hours & weekends) – I just have all the best products right at hand, and I find the shop a very inspiring place. So I am attaching a photo of the bench that is closest to me when I craft – my favourite ribbon drawers, stamp collection & washi tape (all close at hand).

My favourite photo at the moment……oh my gosh hard to choose…..but this one of Tate (about 1 month old) asleep in his crib – just so precious! 

Thanks for your lovely layouts and a peek into your scrapbooking world, Joy!

Tuesday, April 29, 2014

Loving the new release products :) :) :)

Hello Hello :)

Today I would like to share with you a layout I created using some of the fabulous new releases from Jenni Bowlin Studios :) Especially loving the new flatbacks and rubons.


 I have also used some of the fabulous JBS sequins and black adhesive rhinestone stars


These are the awesome new releases I used and they are available >>> HERE :)


I do hop that you are loving the new releases as much as we are :) :) :)

Happy Scrapping,

Louise :) xox

Saturday, April 26, 2014

studio tour - leah farquharson

As a part of the "our creative spaces" series for the blog, I'm sharing my studio space today! Many of you may already know that scrapbooking is only a part of what I do in my studio space - I also run my handmade business, write creative articles for magazine publications, keep an active blog sharing my experiences in the creative industry to encourage other women entrepreneurs, study my design courses (and do homework), as well as homeschool our boys. It's really a multipurpose living and creative space - since we live in the city, where space is a premium.


Because of this, I recently came to realize that I needed to do some serious purging and updating. I just don't have room for much as far as supplies, and it's impractical to keep very much around due to clutter. See the chair in the photo? That's our living room area, and this is pretty much the view from the front door. This is a really large multipurpose room that people in Florida call a "great room". The living room area is actually even larger than my studio space, and off to the left is a small dining table. I'd say the room is actually shaped like a number "7"!


I love all of the natural light in this room. We have floor to ceiling, wall to wall sliding glass doors that stretch 24'x8' - so even on a cloudy day like today, there's usually plenty of light. Speaking of cloudy, part of updating the space involves painting these lovely vintage cabinets a light blue color, but the weather has just not cooperated lately, since we've had lots of rain. That's really unusual for this time of year here. We typically don't get a lot of rain until later in May. Oh, well! It'll get done one of these days!


Most of my scrapbooking takes place at this stand up counter spot. I keep the tools that I use most often in a basket made for picnic tableware that I grabbed on summer clearance one year - three slots for plastic ware and a long slot for napkins. I've had this counter height bench for over 15 years, but recently updated it by painting it a dark espresso brown color. Shhh! I hide so many things behind that curtain - there's a box filled with thickers, a rolling tote for scrapbooking, a brown felt tote that keeps all of my camera goods, and boxes of stock for my shop. When I first moved the bench to our living area years ago, I added the curtain by just attaching some velcro.


It also doubles as a packing station for orders - or a spot for me to plop the ipad down to finish invoices/receipts/miscellaneous office work that doesn't require the power of the laptop for photoshop or illustrator.


I usually keep an ever rotating row of artworks and inspiring quotes on this wall - I recently switched the color from a latte tan to this bright white, and I'm loving it. I began running into a problem photographing items for magazine shoots that required white backgrounds, so I just switched it all over. It's perfect, because our couch is that latte color, so the wall and couch were blending for a very blah look!


When my desk space is clean it makes me super happy. It means I don't have to shuffle anything around to get to work! The old cigar box on my cart actually hides all of my little plug in cords for computer things - like my camera and ipad accessories. And the tiny orchid and succulent just make me smile.


To save space, I usually just use a dining chair for my desk. When it's time to eat we move it over to sit as a family, or picnic in the living room if we're catching a movie or sporting event on the tv!


This is my sewing station - I have done so much here, and have so many more things planned! It's actually a simple, inexpensive camp table. I stitched up some home decor fabric that I grabbed at IKEA a few years ago to create a heavy duty table cloth that actually hides  TONS of stuff underneath. We have a giant, espresso brown wicker basket (that matched the trash bin pictured) underneath that stores all of our school books for the boys. The basket on the shelf houses my punches and a few bulky items. The cabinet down low has my cuttlebug and diecutting plates. And I bring my laptop over to this table when I need to cut anything on my silhouette cameo. And as you can see - I have TOO MUCH PAPER! Ha!


My second cabinet holds lots of embellishments in boxes and trays, yarn in a wooden crate, binders and notebooks, and office supplies behind the doors.


On the opposite wall (still waiting to be painted white), I have my photo printer/scanner, and expedit storage for fabrics. (Whew - I need to update my keyholder when I finish painting, too!)


I hope you've enjoyed this little tour around my creative living space! And perhaps gained some ideas for your own. I'm a big believer in the saying by Teddy Roosevelt, "Start where you are and use what you have." I choose not to wait until the day when I have a room that I can dedicate to creativity, and instead make my creativity a way of life. It's so much a part of what I do, that it just coexists with our living space. And honestly, I love that I can be in the same room and still get work done that I need to. There are days when I would love to be able to close a door on creative messes, but overall, I choose to use that as a motivator to keep messes contained instead of overflowing. Clutter and mess tend to bog down my creative process, so it's been a good exercise to keep me disciplined!

For more on me, my business, or my (normally) daily blog postings, you can stop by bluebirdchic.com

~ Leah

Wednesday, April 23, 2014

Oooo Baby - It's One Buck Wednesday!


And our JBS Digital Shoppe has baby inspired digi products on sale today!


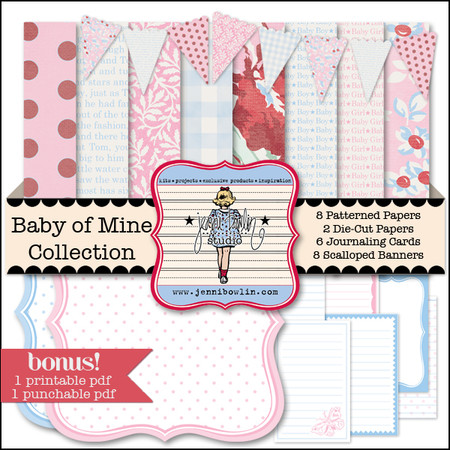
Chantalle McDaniel created a wonderful mini album using these kits:

I was elated to work with the ‘Baby of Mine’ collection this month, as my neighbour is expecting a little blue bundle of joy any minute! I have created this mini album keepsake for her to record those first few precious details.


I created the sleeve in my Silhouette software, which hides a pull out album. How I adore the gold rubons (in any design!) Here, I’ve dotted a few stars on the blue card stock I’ve matted behind the cut title.

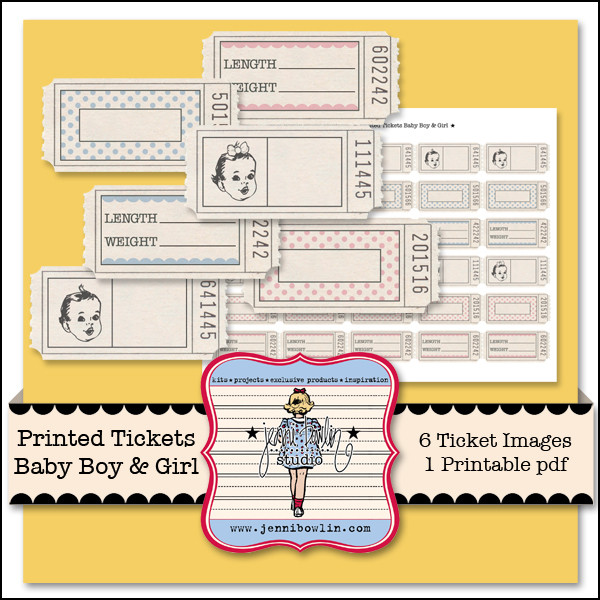
To create the album, I started out by setting up some pages (4x6 size) in my word processing programme. I then went about importing a selection of the 'Baby of Mine’ patterned  papers. I’ve also dropped in a few of the boy versions of the 'Printed Tickets’. I think these provide perfect prompts for entering those all-important details! These pages were then printed off onto white card stock and trimmed.

This notebook paper was ‘created' by placing three of the lined ‘Baby of Mine’ journaling cards side by side. I have cut off the punched pattern on two of them to create an extended line.

A blank space for adding some teeny toe prints.

In between the card stock , I have also added clear photo sleeves for my neighbour to add some snaps. Have you tried using rubons directly onto your page protectors or photo sleeves? They look great, adhere perfectly and add a bit of interest, without interfering with your actual photo!

The pages were then collated and bound using a blanket stitch. (It’s worth noting that I pierced the guide holes before I sewed, so the stitches would be consistent.) I’ve also highlighted a few of the printed stars on the paper with some gold rubon stars. Happily, they were the exact same size!

For the final finishing touch, I’ve created a charm using my Epiphany Crafts tool and the ‘Mercantile Mix’ cut files - Silhouettes. I’ve singled out the male profile and coloured him, then printing him out, punching and creating the epoxy sticker.

Materials used:

Digital:
Traditional:
JBS Scattered Stars Rub-Ons Gold
JBS Pennant Rub-Ons Gold
You can find the Scattered Stars and Pennant Rub-Ons at your favorite retailer and will be coming to the Mercantile soon!
This is pretty amazing Chantalle!  Thank you!

Tuesday, April 22, 2014

I Already Miss This by Doris Sander

I love working with Jenni's products.  No matter what releases I mix and match, it all blends together so beautifully and effortlessly.  I think that is just part of its vintage inspired charm.

On this page I mixed several new wood veneer pieces (buttons, mini flashcards, and a mini book back) and gold star rubons with some older product including flatbacks from two different releases, houndstooth washi tape, and a couple pieces of my all time favorite patterned paper (that I can use over and over again).  I also couldn't resist adding in a vintage button card from my latest Antiquarian Add-on Kit for the perfect finishing touch.


Celebrating Twenty

Not only am I happy to be celebrating the new releases from Jenni Bowlin Studio, but I am also thrilled to be celebrating my cat Cleo's twentieth birthday this week.  Twenty!  In cat years, that's about 100 -- I think.  Some of the cat age converters I looked at only go up to 19.  All I know is that for an old chick, this kitty is still looking good.
I used a bunch of the new JBS products here, including these lovelies:
Clockwise from top right: 
stencil, wood veneer buttons and flashcards, flatbacks, and gold rub-ons. 
I gathered together a few of the wood veneer flashcards, leaving "lucky" visible (since I am truly lucky to have had this sweet little fur ball in my life for the past two decades). I flipped over two of the flashcards and added some gold rub-ons to them. I love JBS rub-ons -- they go on so smoothly!  They should actually be called smooth-ons.
I threaded a bunch of the wood veneer buttons around the photo block, journaling, and other layers of the layout. They add so much charm to the page.
In addition to some past JBS papers (perforated kraft "Receipt" paper and "Shirt off My Back" Red/Black collection paper -- which I "softened" a bit with gesso), I incorporated a vintage cancelled check and a receipt, the latter of which includes my journaling. 

Thanks for visiting today! 

Sunday, April 20, 2014

collecting inspiration


I'm loving the newest goods from Jenni Bowlin Studio this season. I've put together something really simple today featuring a bunch of the lovely wood veneer pieces, flatbacks, rubons, and triangle sequins! One of the biggest projects for a class I'm currently taking is learning to see and collect inspiration from the world all around you. It's been a very eye opening, and lovely experience. I have to say, it really makes you think a bit more about the world all around you that you pass by all the time - sometimes without even seeing.

Friday, April 18, 2014

Bright Travels : Digi Kit

There's a bright and beautiful digital kit being released today at our digital shoppe:


Bright Travels is a collection of travel inspired patterns and sweet versatile patterns in pretty pinks and aquas.  Designed by Lisa Dickinson, this kit will be a staple in your digital paper collection.

Take a look at what our Creative Team did with these digital papers and you'll be convinced of its versatility:

Supplies:  Bright Travels, Butterfly Rub-on, Definition Label, Jeweled Butterflies, Printed Tickets Boy & Girl, Vintage Patterns. Fonts: Digs My Heart and MK Handwriting
Cassie used the kit to scrapbook a sweet photo of her daughter.


Jenni Bowlin Studio:  Bright Travels Paper Pack
Vintage Bling, Die Cut & Perforated Paper
Flags & Stars,
School Days Alpha;
Serial Sue, Albertshth Typewriter
Carrie documented a family beverage ritual.


And here's a hybrid layout from Nirupama Kumar.

"I love the spring time feel of this paper collection and thought it paired wonderfully with this picture of my son on his favorite tree swing. I added some complementary watercolors ot my page with soft blues and just a hint of yellow.  Then I decided to add a little contrast and painted the chipboard letters with India ink for my title."

Thank you ladies for your wonderful pieces of inspiration!