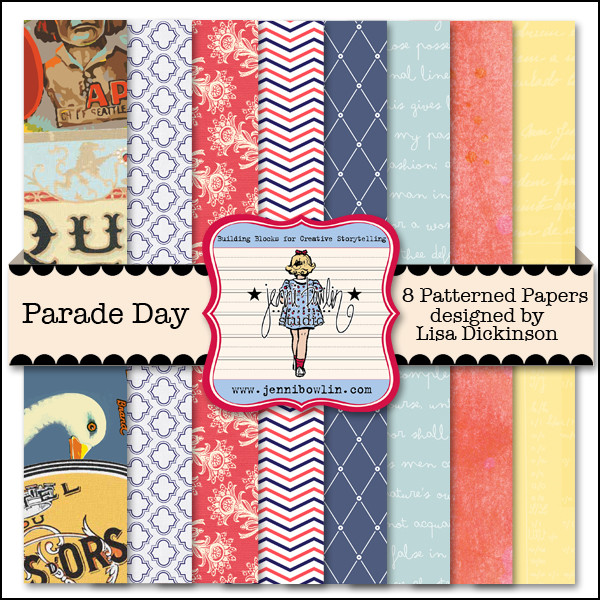
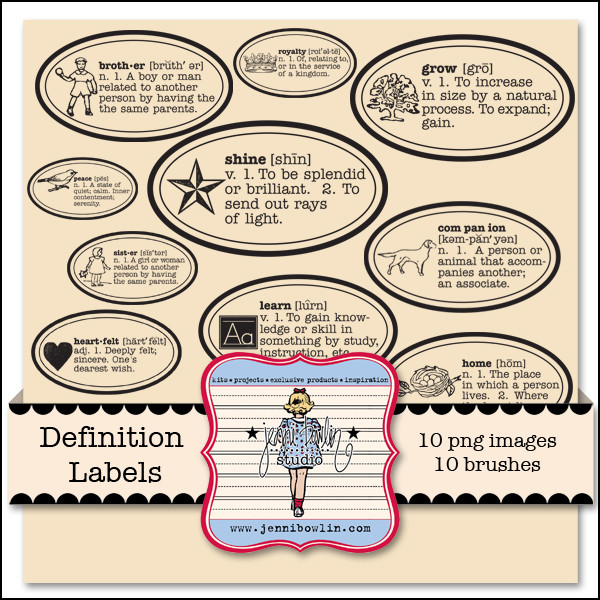
It’s One Buck Wednesday again over at SnapClickSupplyCo! We have two digital kits on sale today, and projects to inspire not only the digital scrapper, but the traditional and hybrid scrapper too!
Parade Day is a gorgeous paper collection designed by Lisa Dickinson and Definition Labels is a popular Jenni Bowlin Studio classic.
Take a look at how Carrie Arick used our Definition Labels (along with Morning Mist) in this digital layout:
See how Carrie changed up the colors of the brushes in our kit? You can read all about how she did this on her new blog here: The Digiscrap Geek .
We also have some beautiful hybrid projects using these kits First up is a layout from Nirupama.
Niru printed and cut her background pieces and added them with other traditional scrapbooking pieces to a clean white piece of cardstock. The way Niru layers her pieces and leaves edges of photos and paper unstuck creates such a carefree style. And what a cool photo!
Next up is a tutorial from Chantalle McDaniel showing us how she used Parade Day and her process for creating a hybrid layout.
The majority of my layouts involve the use of my computer at one stage or another. Whether it’s planning a photo size, designing a page or printing off digital elements, my Mac is a most valued scrapping partner!Read on to see how I went about planning and putting this layout together, using Jenni Bowlin Studio ‘Parade Day’ digital papers and ‘Definition Labels’.
• To begin, I set up a new document in a word processing programme (I use InDesign.) I have an A4 printer, so I have gone for an 8.5x11 layout.• Next, I think about what I want my page to look like, so I begin to set up the individual elements.• I then place the elements onto separate pages so I can print them out individually, starting with the paper (printed onto white card stock at letter size, full bleed.) I then print my photo out onto photo paper. (I find this gives me the freedom to print exactly the size I want and also, save paper as I can adjust where it lies on the sheet.)• Next I print off my other elements onto white cardstock.
Now I am ready to trim everything up and start putting my page together!
I have copied and pasted the ‘shine’ definition label inside a circular shape. The clear button has been in my stash for years (I have been hoarding it for just such an occasion!) It looks great amongst a mixture of embellies, like the JBS Wood Veneer button and silhouette style ‘Icon’ flatback.
Materials:DigitalJBS Parade Day papersJBS Definition LabelsTraditionalJBS Wood Veneer buttonsJBS 'Icons' FlatbacksJBS ‘Everyday’ FlashcardsJBS Double Chevron paper tape
Grab these sale kits today through midnight PT!


No comments:
Post a Comment