Showing posts with label die-cut. Show all posts

Thursday, August 14, 2014

Spotlight on Vintage: August Kits

I'm such a fan of mixing old and new...modern with vintage...rustic with contemporary! So I was excited to see the classic vintage elements in this month's JBS Mercantile Papercrafting Kits.  The August kit contains a sheet of vintage numbered graph paper, 2 strips of vintage cigar box labels, 4 vintage butter pat squares and 1 cotton twine spool.

To show how perfectly these historic ephemera coordinate with new papers and embellishments, I created this page to document our summer:


I used a white-washed wood pattern as my backdrop, since its light and airy feel was perfect for a fresh summer page.  I cut my papers to 1-inch high to match the cigar labels, and varied the lengths to form a staggered stripe background.  A bit of stitching to each stripe adds dimension and texture. I also tucked in a few of the Kit Cuts, a staggered diamond design, for an added layer of interest.


The gold epoxy stickers included in the kit were perfect embellishments, adding sparkle to the page and tying in with the gold accents on the cigar labels.


I love how the old cigar labels and graph paper add a richness and patina to this design, while still mixing wonderfully with the brighter, more modern patterns. So don't be afraid to blend in some vintage to your next design! And if you're looking for even more antique-inspired pieces to incorporate into your scrapping, be sure to check out the Antiquarian Add-On.  It's full of treasures that will take your next project over the top!


Pin It!

Wednesday, November 27, 2013

Thankful for the friendships...

That I have made with this wonderful craft.

Hello Hello :)

So have you been having awesome creative fun with the Jenni Bowlin Studio November Kits? I have :)  Ive created this fun little mini featuring some of the fabulous friends that I have made  in the industry. Today I would like to share a few of the pages with you.


Ive used some of the awesome Kit Exclusives :) :) :)


Aren't those wood veneers just TDF?!!! :)

And seriously could I be any morse excited about this feather mask?!!!! :) :) :) 

I used the feather die cut to create a smaller version on the mask so that I could create a masked feather pattern on the cover of my mini album :)


Havent the teams creations been all kinds of awesome this month?!! :) :) :)

Dont forget to check out the gallery >>>>>>>>>>>> HERE :) :) :)

Cheers for now and Happy Creating :)

Louise xox
Pin It!

Sunday, October 6, 2013

October Kits | Papercrafting + Historian

The October kits are packed with everything you'd need for documenting your fall and Halloween, but they are also versatile enough to use for lots of other page themes as well! I've used the pie chart Kit Cut (free with purchase of the Papercrafting Kit) to make a layout about a typical day in the life of our dog, Shinerbock:


The bulk of the supplies on this page are from the Papercrafting Kit, but I've added in a label and die cut from the BasicGrey waterfall set in the Historian Add-On. These waterfall packs have a seemingly endless supply of die cuts, journaling cards, labels, and mini alphas (and everything coordinates perfectly!)


The pie chart was a great way to incorporate several of the fun patterned papers and bright cardstock in the kit. You could use this graph concept to illustrate your favorite things about autumn, the different types of Halloween candy your kids got trick-or-treating, or the variety of leaves that have fallen in your yard...the possibilities are endless!


 Happy October!


Pin It!

Thursday, July 18, 2013

Summer is here with Elle's Studio and JBS!!!

 
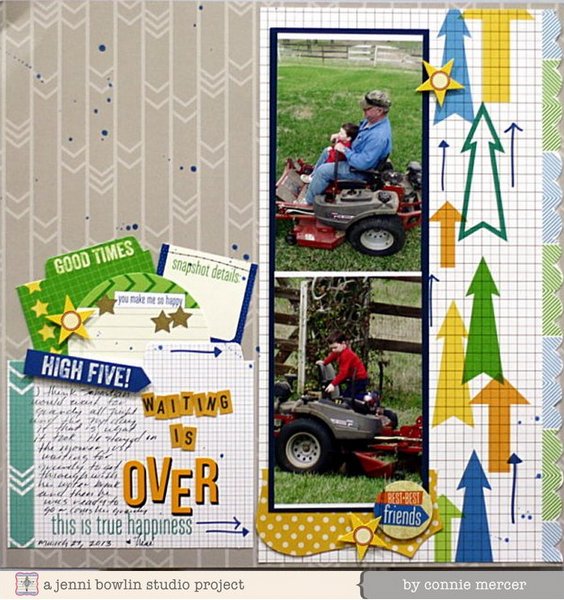
Yeah, for Summer (I think)!!!  Yes that means cutting the grass if it takes all morning.  More layouts using Cameron by Elle's Studio.  The yellow in this paper matches the JBS yellow.  I used the Alpha stickers (orange/black), Star Banner stickers and a Die-Cut journaling card (yellow).  

 
I added the JBS Flat Backs, and the Star Banner stickers (blue) to this one.  The colors match perfectly.   

 
More Star Banner stickers added to this layout!!  One of my favorite things about JBS is the product works so well with other manufactures!!  A big Thank You to Elle's Studio for partnering with Jenni Bowlin Studio~I enjoyed creating with your fabulous products!!!
 
*********************************
I have a cool re-purpose that I wanted to share with you.  I just love the True Vintage line that JBS has in the Mercantile.  I used one of the Drug Store labels and added it to my water bottle {vintage 7 Up bottle that I found on the ranch} with the cool sprinkle spout {you know, you used it when you ironed to dampen your cloths}~ I have already used it when I needed to thin paint out or clean up. Works great!!!


C.Mercer~

Pin It!

Sunday, July 7, 2013

Summer nights!

Hello and Happy Sunday!

Tina here today with a fun layout that will hopefully bring back memories of those Summer Nights.

This photo is of my mother, circa 1960.  She was 18 and watching the sun set in LaCrosse, Wisconsin.  She is leaning against my {soon to be} father's car.  :)


I used stencils from both the July Papercrafting kit and the July Mini Album kit to create my colorful background.


I also used both the exclusive stamps and digital cuts from the July kit to make my own unique embellishments.  I stamped both with embossing ink for more texture.


I finished my layout off with some of my favorite JBS product:  Notebook Grid Paper Tape and fun Icons flatbacks.


I hope you enjoyed my share today.  Here's to summer nights and summer memories!


Pin It!

Wednesday, June 26, 2013

Another Elle's Studio and JBS project..

Hi everyone, it's Gina here sharing another Elle's Studio and Jenni Bowlin collaboration layout today. I really enjoyed using the Elle's Studio 'Cameron' line, and found that the fun, bright colors are suited to girls layouts too! And after seeing all the DT/Ambassador creations this week I'm sure you would agree that this line also combines beautifully with a range of JBS products.


I've used Modern Mercantile 'Novelties' paper for the background and added some gesso then spray inks to stencil through a section of stars from the Digital Backdrops 1 file. I've cut some of the left-over  misted stars out placed them around the page. These stars compliment the cute Elle's Studio star stamps too! A new JBS fave for me is this gorgeous delicate decorative brad


I've cut a 12" strip from the kraft die cut paper and added a few different Elle's Studio papers behind. I've also used some cute Tidbits and a Tiny Tag..


Further layers have been added using JBS paper tape, stickers and a green vintage button


Thanks for stopping by!

xox
Pin It!

Tuesday, April 23, 2013

Washi Tape as Patterned Paper

Welcome back to another post featuring the fabulous new JBS paper tapes! This week, we'll be showing you all kinds of inspiring and fun ideas for this versatile supply.

While I am often reaching for these tapes to add that "little something extra" to a page, I challenged myself to use them as the main supply on a layout. After cutting two of the JBS Kit Cuts (from the Heart Cards set) from white cardstock, I filled the negative space with strips of paper tape:


The red Double Chevron, blue Notebook Grid, green Sage Lace and gray Sideways Chevron (combined with another yellow tape!) were the perfect touch of color and pattern for my page.


The paper tape was quick and easy  - much faster than cutting strips of patterned paper. I know I'll be using the tapes more often this way on future projects!


Pin It!

Tuesday, April 16, 2013

Scrapbooking with Washi Tape- The Golidlocks Technique


I am delighted that Jenni has added washi tape to her line of scrapbooking products, and of course her tapes are patterned with classic designs that will mix and match with ease.  I wouldn't expect anything less!  But this is extra brilliant considering a roll of washi tape - even used frequently - can last a long while.  All of the JBS tapes are great designs for that long-term use, and you'll never have to worry that they will go out of style.


If you're starting to collect washi more than you use it, try a trick for letting it help you embellish a page design.  Pick two tapes that work together for your page, and use three strips of each: one long, one short, and one in between.  Perhaps we should call this the Goldilocks Washi Technique!


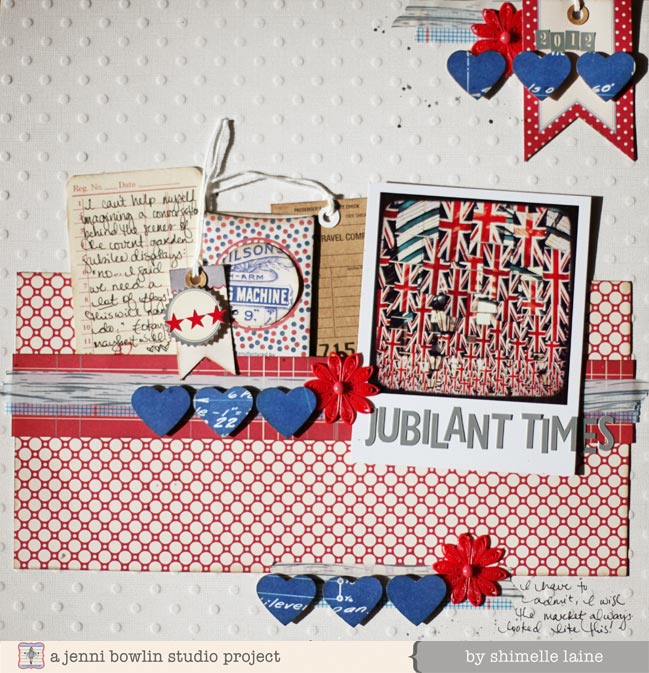
Placing these three pairs of tapes on your layout then makes it easy to embellish things for a design that will always work.  I used the blue grid and whitewashed woodgrain tapes, and my smallest set is up at the top right corner, the longest across the middle of the page, and the middle set at the bottom.  Then it's just a case of choosing some embellishments you can repeat in those three locations, so I used a heart punch with the lovely blueprint paper from the Wren collection and a red doily.  Placing those three groups of embellishments and my photo first made it easy to finish the rest of the page because the placement was obvious: all that space to the left of the photo!  So that became a great place for journaling and some tags.  Of course, for a multi-photo page, you could easily replace some of the tags with additional pictures.  By keeping the three sets of tapes all on the horizontal and using them to anchor those repeated embellishments, the rest of the page comes together without worry.  Give it a try!


If you fancy more inspiration for your JBS washi tapes (and more red, white, and blue JBS goodness!), I have another project to share with you on my blog.  You can find this project here, designed as the facing page in my album.  These two pages aren't a double page spread in the strictest sense, but they have enough in common to certainly coordinate side by side.  


Pin It!

Thursday, February 21, 2013

Gangnam Style!

Hi!  Tina here today with a layout I created using the February Papercrafting kit, plus some tidbits from the Artisan Add On kit.

Have you ever made a layout knowing that your your kids or family member(s) would just kill you over the pictures in the layout?  This would DEFINITELY be one of those layouts.  :)

One day, last October, (in a very rare occurrence), my boys and I went for a walk and they 'allowed' me to take pictures of them.  Of course, many of the pictures were not serious and completely reflected their 'boy' charm.  In this sequence of photos, they were dancing 'Gangnam Style' and loving every minute of it!

I'm sure they had NO intention of these pictures showing up on a layout or in one of my projects, but I just couldn't resist.  :)  I was just waiting for the perfect paper and embellishments.  When I received the February kit, the yellows, browns, blues, and greens from the new Modern Mercantile collection were perfect for the fall time pictures.


I also loved the exclusive digital cut from this months kit!  I was a great way to add some subtle detail to the background, without 'over doing it'.


I hope they aren't too mad over the pictures!  :)

Please be sure and share your layouts in our Customer/Member Gallery.  We look forward to your creations!


Pin It!

Saturday, January 26, 2013

Seeing Stars

I love the versatility of background die cuts! They can add a subtle touch to the base of your layout, or they can be combined with patterned paper and embellishments to create a design focal point for your page.

I knew the star background from the Holiday Backdrops Kit Cuts would work perfectly with photos of my son's twelfth birthday. I enlarged it to 9.5 x 9.5 and cut it out of white cardstock, backing several of the stars with papers from the new Modern Mercantile line, as well as the bicycle mini paper from the Magpie collection.
My photos were adhered to the left side of the die cut and I backed the whole thing with the light blue patterned paper from the Modern Mercantile collection. For my title, I used the new Printer's Block Alpha rub-ons applied to one of the larger stars:

A piece of teal twill tape across the center of the die cut adds contract and leads the eye to my journaling tags, which I've slipped behind the die cut to keep the page design clean and uncluttered:

Because the die cut portion of my page has been adhered with foam squares, there is room to easily slide the journaling cards underneath them.

Finally, I added two of the domino chipboard pieces to the upper right corner of my die cut. The two "six" pieces were perfect to indicate my son's age:

Be sure to check out all of the background die cuts (and many other designs!) in the Kit Cuts section of the JBS Mercantile.

Happy Scrapping!


Pin It!