Showing posts with label family tree. Show all posts

Wednesday, June 5, 2013

Jenni Bowlin + Fiskars = Happiness

Hi and Happy Wednesday!

This month, Jenni Bowlin is teaming up with Fiskars!  What a wonderful and happy combination!

I would like to share a short/quick view of how I created this super easy way to use your favorite Fiskars Paper Trimmer and your favorite JBS kit paper.

1.  Cut several strips of paper.  Mine are all approx. 1/4 in in width, but I didn't pay close attention when I was cutting, so some are wider and narrower than 1/4.  Embrace imperfection.  :)


(by the way, this Fiskar ProCision Rotary Trimmer is AMAZING!  It cuts like 'butta')

2.  Weave the strips of paper.  
Quick tip:  Weave your strips of paper on top of a piece of cardstock.  Hold it together with strips of washi tape on each end of each strip.    


3.  Since my shape was a circle, I traced the circle on top of my weaved strips and stitched in place.  This ensured that the strips were secure and would not move once placed on my layout.


4.  Trim up any 'extra' pieces and place behind your die cut shape.


And here's the finished layout!


This layout is very special to me. My oldest just graduated from Otterbein College, Magna Cum Laude, with a degree in Music Education. I am so very proud of him and his accomplishments. He is really a star in my eyes!

Thanks for stopping by today!  I hope you have a wonderful week!

Pin It!

Wednesday, November 17, 2010

Guest Star Katie Watson!

Isn't this an amazing magnet board! Thanks for the inspiration Katie!


Pin It!

Sunday, October 31, 2010

Start'em Young by Jill Sprott

I love how JBS products are both fresh and nostalgic, making them perfect for this layout about my "hanabata days." I used the Family Time journaling cards and papers as the backdrop for this layout, and worked in a few sheets from the JBS Memo Note Book. I also used star stickers, mini chalkboard alphas, a butterfly, a border sticker, and some cardstock alpha stickers.

Delightfull layout! Thanks for the inspiration Jill!


Pin It!

Thursday, October 21, 2010

Santa's List by Danielle Flanders


I know Halloween isn't over yet, but it's nearing the time for me to start thinking about Christmas, presents and all that goes with it! I decided to turn one of the little mini albums into a notebook to keep in my purse to remind me of my to-do list for the holidays! I made a section for each of my daughters (marked by tabs/tickets) where I am going to have them write in what they would like for Christmas! I can then keep this with me to refer to it when needed. When the holidays are over, I will add photos of them opening their gifts, and voila! I have a mini album complete from the start of the holiday to the end. I love that I'll have their handwritten wish lists in here to keep forever.

I love the Family Tree line for the holidays with it's reds and greens. I covered the front of the album with the yellow mini paper from the Family Tree mini paper pack. To get a star punched out of it, I had to trim off the corner of the paper and slide my star punch in. It was the perfect size punch to match the star already in the mini album! Then I added a red star sticker and pearl down inside on the first page.

A Silver Receipt rub on was added to the front cover and Black Ledger Sticker Alphas, along with a few more strips of paper. On the inside, I covered a chipboard star with a green 12" x 12" piece of Family Tree paper and punched a hole to attach it inside the book. To finish, I tied a ribbon around the rings and added a new Vintage Christmas button and pin. The little Santa was actually the one who inspired this project!

Awesome! Thanks for the inspiration Danielle!
Pin It!

Tuesday, October 19, 2010

Guest Star Bridgette Troung!

We saved one of our guest stars for October so she could wish a very happy birthday to her baby brother who turns 21 today!

Since having my second child, I have to admit-I haven't had time to do many scrapbook pages. But I knew that had to change as soon as I saw this picture of my youngest son, Ethan, and my little brother. I am a HUGE fan of using the JBS journaling cards on cards, so I'd thought I would try to actually use them on a page. I managed to work in 3! And I paired them with my latest love-punched owls (which the mini papers are PERFECT for!) I think the JBS buttons add just the right bit of detail and dimension. I love how the JBS papers coordinate with each other, but aren't matchy-matchy. Thanks JBS!
Charming and delightful! Thanks for the inspiration Bridgette!


A girl after my own heart, look at how she used the product packaging to make some of the owls. MINI mini papers just perfect for these tiny guys. Oh the cuteness!

Pin It!

Tuesday, September 28, 2010

Spotlight on Michelle Lanning!

Today we welcome back our September Customer Spotlight superstar Michelle Lanning! She has three lovely projects to share with us. What a treat! Thanks for the inspiration Michelle!

We'll be announcing a new customer spotlight winner on October 5th. It could be you with a box of JBS happiness arriving in the mail and a bonus spot on our Inspiration Blog, so get your projects loaded in the customer gallery ASAP!


Pin It!

Monday, September 27, 2010

Guest Star Jennifer Johner!

Coolness! Thanks for the inspiration Jen!
Pin It!

Thursday, September 23, 2010

Guest Star Debbie Hodge!

Hi, I’m Debbie Hodge. I live in a small town in New Hampshire and take a lot of outdoor photos. I love layering and mixing patterned papers, and these Jenni Bowlin papers are great for the photos recently taken at my parents’ farm. On “Moment” I used one of my favorite techniques for layering a variety of patterned papers. I double matted the two pieces that back up my photos. My preference is to use a very narrow black mat and then a slightly wider white mat as I’ve done here. I like the definition this gives to a patterned piece when it’s layered right on top of another pattern. You could also get this definition with an inked edge or stitching.

I rarely make layouts with one photo. The design on “Hayride” is one I turn to frequently when I want to get several photos on the page. Three 5 x 3.5” landscape photos are accented by three smaller, supporting photos. Since the photos contain so many different colors, I desaturated the smaller photos just a bit. When designing layouts with several photos, I make sure to crop my photos using “repetitions with variety.” Here, the three larger photos are all the same size and orientation (repetition). The supporting photos are smaller (variety), with the two on the right of the same size (repetition). Note, also, that two of the smaller photos are of portrait orientation (variety). You can download the page sketch with measurements (as well as two complementary designs) for “Hayride” at my website Get It Scrapped!
Debbie Hodge is the author of the Memory Maker’s book, Get It Scrapped!, and the owner of a website with that very same name. You can find new articles and tutorials on both the practical and creative aspects of memory keeping by Debbie and the Get It Scrapped! teachers several times each week. Debbie also hosts a monthly design series at Masterful Scrapbook Design with Jenni Bowlin Studio designers Doris Sander, Lisa Dickinson, and Dina Wakley teaching this fall.
Pin It!

Saturday, September 18, 2010

Betsy Sammarco joins the JBS Mercantile Gallery!

Betsy is already a vital part of the JBS team, contributing many paper and hybrid projects to our blog. Now we are pleased to announce that she's going to be making monthly contributions to our Mercantile gallery as well! Yay for even more Betsy goodness!
Pin It!

Friday, September 17, 2010

Back to School with Stephanie Howell

Stephanie Howell is going back to school with Two Peas in a Bucket! You can read more of her first day adventures HERE. Thanks for the inspiration Stephanie! :)
Pin It!

Fold-Out Postcard Holder by Betsy Sammarco

This “postcard” holder displays your 4x6 photos and is modeled after vintage fold-out postcard holders. Here’s how you can make one:

Cover a piece of cardstock 6-1/2” x 11” with patterned paper on both sides. I use Helmar Premium Craft Glue as my adhesive for this. Score your covered cardstock at 1”, 5-1/2”, 5-3/4”, and at 10-1/4”. This is your postcard holder cover.

Make an accordian fold out piece for your photos using another piece of cardstock cut to 6”x12”. Score one piece at 4” intervals and the other at 1”, 5”, and 9”. Cut 2 inches off the second piece. This piece of cardstock has 2 - 1” flaps. One flap is used to adhere to the first accordian piece and the other 1” flap adheres to the inside of your holder.
The holder can be closed in a variety of ways. I used a Vintage Sew On Button and trimmed the top flap so it secures under the button.

The small bottom flap is folded toward the inside of the holder and secured on both ends to form a small faux pocket for a journaling card.

Add your photos!

Decorate the front of the holder. I used a Journaling Card, Ledger letter stickers, Star stickers, and a Tim Holtz stamp.

Fabulous! Thanks for the inspiration Betsy!
Pin It!

Tuesday, September 14, 2010

Guest Star Paula Gilarde!

Here's another fabulous Christmas layout featuring Family Tree! This one's by Paula Gilarde. I especially love how all her great photos capture the moment so well. Thanks for the inspiration Paula!
Pin It!

Monday, September 13, 2010

Guest Star Lisa Pace!

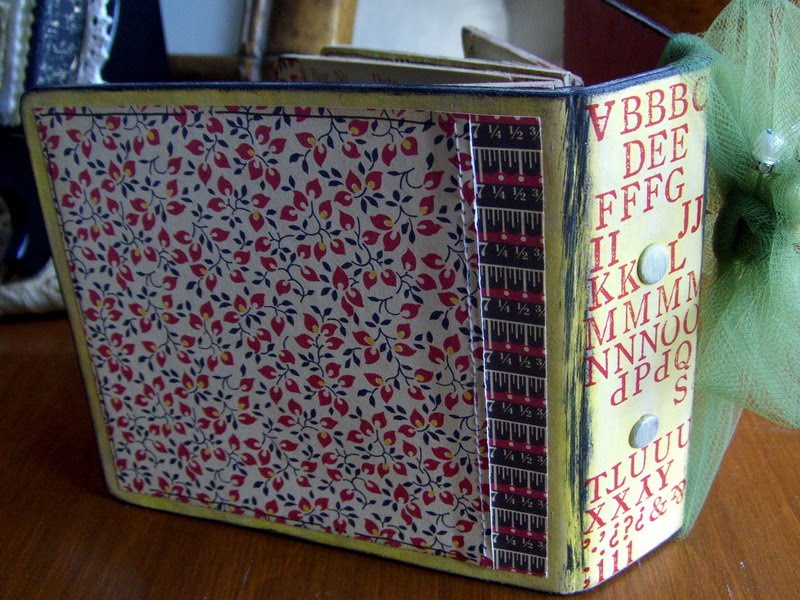
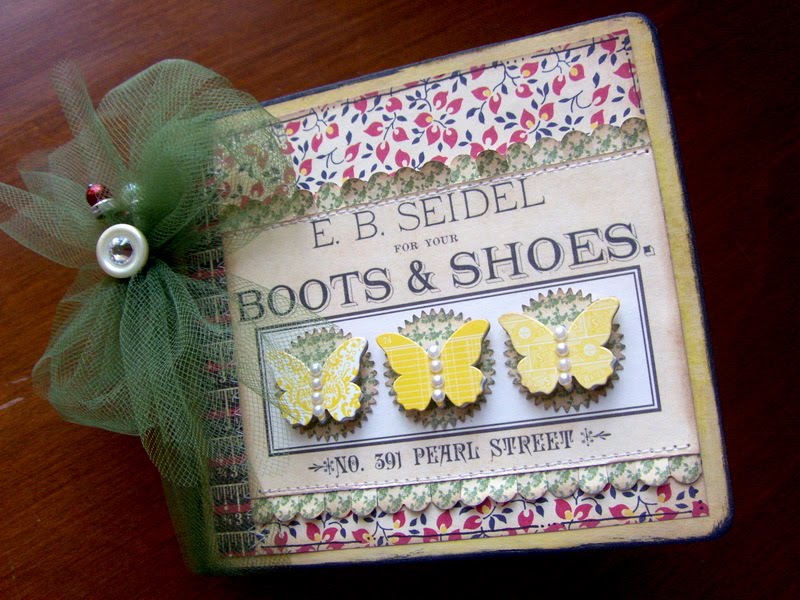
Imagine how thrilled I was when Jenni released her Acrylic Paint Dabbers this summer at CHA. I must tell you the paint colors match her paper lines perfectly. So when I was asked to create a project for her blog the first thing I did was grab her paints and get to work. I painted the outer cover of my binder using Lemon Drop and Malted Milk and the inner cover using Chili Powder. I then accented the edges using Fountain Pen. As you can see these colors work perfectly with her Family Tree Mini Papers and other JBS embellishments.

JBS Products Used:
Acrylic Paint Dabbers – Lemon Drop, Malted Milk, Chili Powder, Fountain Pen
Family Tree Mini Papers
Family Tree Journaling Cards
Old School Alpha Minis – Black, Red
Butterfly Stickers – Black, Red, Yellow
Plain Chipboard Elements - Butterfly
Red Memo Book
Self Adhesive Pearl Buttons – Orange, Red, Yellow
Stick Pins – Garnet, Cream
Lisa Pace is the author of “Delight In The Details”a technique based book that incorporates a variety of materials, from simple paper and fabric scraps to glitter, ink, modeling paste and of course vintage finds. She is presently the Special Projects Coordinator for Maya Road. In May of 2007, Lisa was picked as one of 5 master scrapbookers in Martha Stewart’s scrapbooking contest and August of 2007, was chosen as a 2008 Memory Makers Master. Her work has been published in magazines such as Memory Makers, Scrapbooks etc., Better Homes and Gardens and Scrapbooking & Cards Today as well as numerous idea books like Holiday Home, Scrapbook Trends, Paper Trends, Paper Creations and Scrapbooking & Beyond.If you would like to see more of Lisa’s work, check out her blog “It’s In The Details” at www.lisapace.com

Gorgeous! Thanks for the inspiration Lisa!


Pin It!