Showing posts with label coredinations. Show all posts

Tuesday, April 16, 2013

Scrapbooking with Washi Tape- The Golidlocks Technique


I am delighted that Jenni has added washi tape to her line of scrapbooking products, and of course her tapes are patterned with classic designs that will mix and match with ease.  I wouldn't expect anything less!  But this is extra brilliant considering a roll of washi tape - even used frequently - can last a long while.  All of the JBS tapes are great designs for that long-term use, and you'll never have to worry that they will go out of style.


If you're starting to collect washi more than you use it, try a trick for letting it help you embellish a page design.  Pick two tapes that work together for your page, and use three strips of each: one long, one short, and one in between.  Perhaps we should call this the Goldilocks Washi Technique!
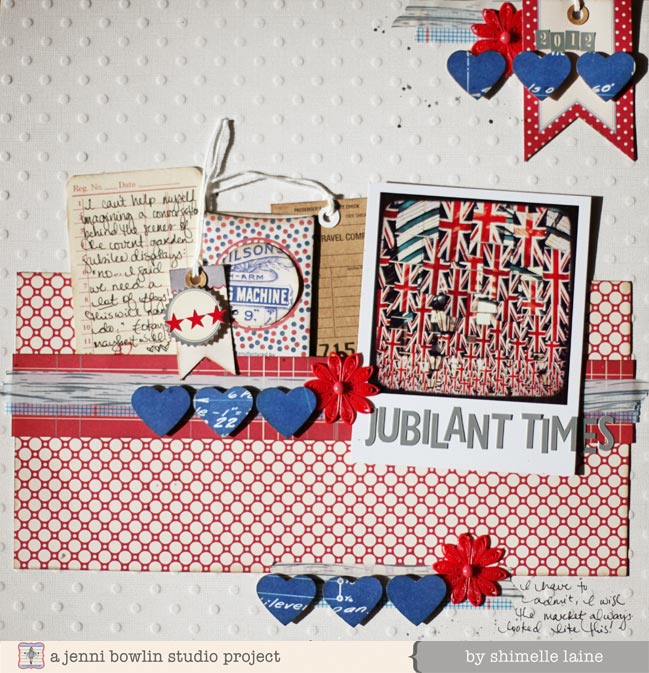

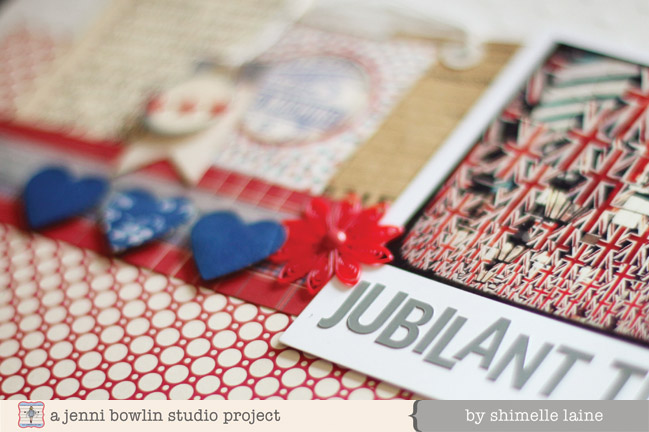
Placing these three pairs of tapes on your layout then makes it easy to embellish things for a design that will always work.  I used the blue grid and whitewashed woodgrain tapes, and my smallest set is up at the top right corner, the longest across the middle of the page, and the middle set at the bottom.  Then it's just a case of choosing some embellishments you can repeat in those three locations, so I used a heart punch with the lovely blueprint paper from the Wren collection and a red doily.  Placing those three groups of embellishments and my photo first made it easy to finish the rest of the page because the placement was obvious: all that space to the left of the photo!  So that became a great place for journaling and some tags.  Of course, for a multi-photo page, you could easily replace some of the tags with additional pictures.  By keeping the three sets of tapes all on the horizontal and using them to anchor those repeated embellishments, the rest of the page comes together without worry.  Give it a try!
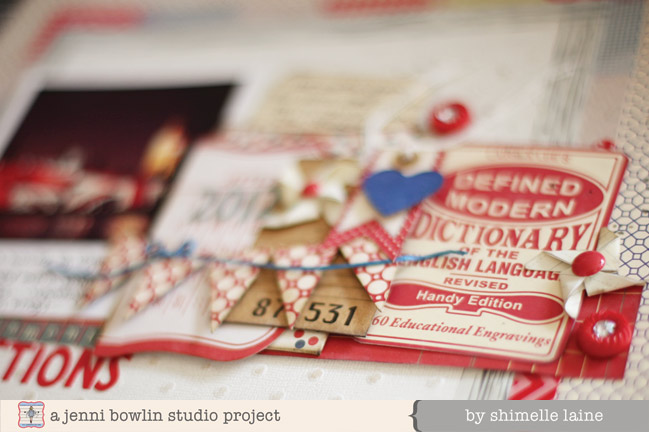

If you fancy more inspiration for your JBS washi tapes (and more red, white, and blue JBS goodness!), I have another project to share with you on my blog.  You can find this project here, designed as the facing page in my album.  These two pages aren't a double page spread in the strictest sense, but they have enough in common to certainly coordinate side by side.  


Pin It!

Friday, April 13, 2012

Learning from Dina Wakley


Earlier this week fellow JBS designer Dina Wakley and I were guests on a new episode of the Paperclipping Roundtable, a scrapbooking podcast.  You can just click below to listen to us discuss our process for creating a single layout from start to finish, and find this episode here on the Paperclipping website if you want to join in the comments.


Listening to Dina talk about her process made me immediately want to give some of her creative steps a try - and I wanted to try a page that mixed Dina's free-flow, artsy style with my own look, so things like stacked papers, butterflies and letter stickers.  I started with the die-cut letter stencil, after I had used it to paint letters onto a few other sheets of cardstock, so it was already soaked in pink and purple ink.  I layered that and the music print from Haven on the large dot embossed cardstock in Jenni's collection for Co'ordinations, and I was off to a start of embracing my messier side!


To try a few other things I might not do, I grabbed my favourite JBS stamp (the butterfly, of course!) and 'inked' it with a colour wash spray instead of an ink pad, and stamped it on one of the mini-pattern blocks from Red/Black Extension IV.  I love how it stamped clear enough that you can see the butterfly design, but fluid enough that it looks more like paint than a stamp.  Then I cleaned and reinked the stamp with Jenni's lavender ink pad and stamped just offset from the first design... then soaked the whole block with pearl glimmer mist for good measure!  I love the mix of shades and the shine.

This photo itself deserves a little explanation, I suppose.  It turns out I was a scrapbooker long before I knew the word scrapbooking existed.  Growing up, I was a 4-H Member (4-H! For Youth! For America! 4-H! ...I know some of you were singing that already.) and we had to keep an official 4-H record book that we turned in for assessment every year.  In it, we had to record - in our own words - what we did on any number of special projects we had highlighted as our interests.  My family have been helping me search for some childhood photos and came up with this book that includes page after page of things I wrote growing up about all my hobbies and interests, and the writing is just as funny as the pictures.  I was so overly serious as a child!  Plus although my vocabulary has matured a bit over the years, there are sentence structures I used as a tiny girl that I still use now... clearly I am a creature of habit!  So I decided to include the whole page and printed the scanned image as a 4x6 picture, which is clear enough to read easily in my album.

Behind the photo, I layered scraps of JBS papers new and old (and one extra scrap from some other project left-overs since it was a good match to the purple) and tucked in a label from the Magpie accessory sheet and some hodge podge stickers (love them!) and sprayed some pale pink mist over that whole stack of things to make it coordinate better with the alpha stencil.

To finish things, I embossed the JBS chipboard hearts with a metallic pink embossing powder - it looks either pink or purple, depending on how you look at it, so that pulled the pink and purple colours together even more.  I wanted a bit of contrast behind the hearts so added a few scraps of pink washi tape, then spelled out my title with JBS letters new and old - the tiny letters are from the bottom of the hodge podge sticker sheet!

Dina... I hope you approve of my style mash-up!


By the way, all this weekend I'm hosting an online crop on my blog - and there you can see what happened to the other piece of paper from that alphabet stencil, amongst plenty of other things! And win prizes, including JBS goodies!  I'd love for you to stop by for some scrapping fun.

Have a brilliantly crafty weekend!

Love and glitter,
Shimelle
Pin It!

Tuesday, February 21, 2012

A hint of spring

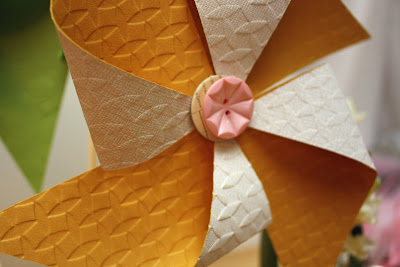
Spring is just around the corner and I am ready for a bit of color and whimsy around the house. I figured that some colorful pinwheel decorations would do the trick!


If you've never made a pinwheel, don't worry because it's incredibly easy. Simply cut a square of paper (any size). Cut in from each corner of the square toward a center point. Stop cutting just short of the center. Then pull over the same corner of each quadrant, affixing the point in the center.


The JBS vintage and chipboard buttons are great foundation pieces that can anchor your pinwheel in the center.


Here's what you will need to get started on making these pinwheels:


Mindy
Pin It!

Friday, October 7, 2011

Betsy Sammarco inspired by Jenni Bowlin

This month, the design team was asked to scraplift Jenni Bowlin herself, or include items or techniques in our project that remind us of that iconic JBS style.

Really? Oh my! I could go on and on about JBS style, but that wouldn't be fair to the rest of the design team now, would it! And after all, it's Jenni Bowlin products and kits that pulled me out of a scrapbooking slump in 2009!

One thing that is striking to me about Jenni's style is her ability to put glittery shine on any layout without it looking overdone or too fussy. I tried to do the same in this Halloween layout.


I covered a Chipboard Star with a piece of the Vintage Halloween 2011 Mini Patterned paper, positioning it so I captured 3 patterns on the star. I added glitter to the edges of the star.

I also took a Black Doily Flower, covered it with a light coat of glue, and tipped it upside down into a plate of German glass glitter. I then used a sticky foam square on a pencil to lift the flower straight up. After it was dry, I took a paint brush and lightly brushed the extra off.


Supplies used:


German glass glitter (used on the doily flower - LOVED it!)

Craft store glitter was used on the star

german foil strip


Be sure to visit the Inspiration Blog this month and see the rest of the design team's take on Jenni Bowlin Studio style!


Pin It!

Wednesday, August 31, 2011

Back to School with Mindy Miller


With all this talk of going back to school, I stopped to think about my school days and how I've never really captured any of those memories from my own perspective. Who was my favorite teacher? Who or what inspired me?

Looking back, I loved third grade and I wanted to capture a snapshot of my memories in a layout.


My inspiration for this design was a chalkboard. First I machine-stitched a grid of one inch squares on black cardstock to create my faux chalkboard. Then I added a collage of Jenni Bowlin products to embellish my "chalkboard".


I primarily used patterned papers from the Be Our Guest collection, plus Core Impressions Cardstock. In addition, I used a piece of Mini Classic Die Cut label paper and a red label sticker as journaling spots.


The whimsy silhouette stamp was the perfect replacement for an "i" in my title. I also used the ruler border stamp in the collage.

This layout prompted a fun walk down memory lane, but I also wish I would have captured more of these memories in my own handwriting at the time. With that in mind, consider using this concept to involve your kids in memory keeping right now and have them journal about the current school year.

Mindy
Pin It!

Tuesday, July 12, 2011

Got Vacation Photos? Get 'Em All On One Layout!


I found photos the other day of a summer vacation we took in 1999.  It was one of our most favorite vacations full of cousins, aunts and uncles, adventures, and really funny stories. I really needed to scrap them!  There were only about 15 photos, but why not get them all on one layout?!

There are two photos on the front of the layout, but hiding underneath that grouping is a bunch of others. The title and the chipboard buttons are tabs that pull up ...


to show sets of photo collages and journaling ...


These photos are old, taken with a basic camera, and covered in shadows and bad lighting.  Using some quick PSE fixes (auto sharpen, shadows/highlights, brightness/contrast) really helped make the photos better.  The photo collages were made in PSE by using rectangular shapes as masks for the photos.

You can download the photoshop files I used to create this right here with these links:

The front collage:

Photo collage 1:

Photo collage 2:

Photo collage 3:

Title block (adhere to the back of your first collage):
http://www.4shared.com/photo/GedoDwpD/title_backing_page.html

***************

Don't forget to check out the sneak peeks of the JBS new CHA releases - There will be one each day this week with giveaways!


Pin It!

Friday, June 24, 2011

Atta Girl by Stephanie Howell

Stephanie Howell is such a perfect match for Jenni Bowlin Studio, don't you agree? Not only does she love vintage and work wonders with it, but she also has a deep appreciation for the classics and is so great about mixing the "old" with the "new." Here she's taken one of our classic die-cut label papers and mixed in some of our latest - "Haven" papers and the new release Core'dinations Bingo Card Cardstock. What a sweet layout about her sweet girl.
Pin It!

Saturday, May 21, 2011

Love This JBS Core'dinations Cardstock

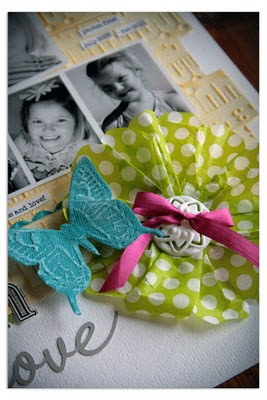
I did a little self scraplift with the new JBS Core'dinations "Love This" Cardstock and I think the results might be even sweeter than the original. I had this adorable photo of Stephanie Howell's girls that she gave me at Vintagefest last year and thought it would be perfect to use. The original was made with bits from the DeLovely Kit. I pretty much followed the original just changing the papers for "Homespun" and "Be Our Guest" mini papers and swapping out the embellishments for Pearl Buttons, Vintage Style Sew-On Buttons, Star Stickers, Flag Stickers, and Vellum Butterflies. I did want to mention that this layout works equally well for a landscape photo as well as a portrait. In my orinal, the photo was vertical and I just trimmed a bit off the end so it would sit in the bingo frame. For the new layout I had a horizontal photo, so I just trimmed it to 4x4 and then added a strip of patterned paper to the empty spot on the bingo card. Easy peasy with fun results. -doris :)


Pin It!

Sunday, April 10, 2011

Two More JBS Core'dinations Layouts!

We hope you have enjoyed Core'dinations Week as much as we have! We have two more layouts for you this morning from the new Core Amour Line. The first one truly is a "Delight" from Stephanie Howell. The homegrown label at the top and row of tiny flowers at the bottom are printed directly on the Core'dinations Cardstock. Then Stephanie has mixed in a bit of Homespun Paper with one of her all time favorite alphas and our new Classic Blue Ribbons. Those baby girls are the cutest things ever!
And here is another from Doris Sander. On this one the two bingo cards, pinked edge, and big star are all printed directly on the cardstock. Doris then made the embossed numbers on the bingo cards show up more by rubbing a little Brown Sugar Ink on them with her fingertip. The rest of the bits of goodies are all from the DeLovely Kit. Sweet! Thanks for the inspiration Doris and Stephanie!


We hope you're ready for even more inspiration next week! JBS and Write.Click.Scrapbook are teaming up to bring you Mini-album Week! Yay! :)


Pin It!

Friday, April 8, 2011

Jenni Bowlin Core'dinations Tip #5

Jenni used a thin strip of JBS Core'dinations Bookprint to add a little texture to the roofline of her charming house. She used a Jenni Bowlin for Ranger Dye Ink Pad in Soap Powder to define the embossed text. Jenni says that when you need to apply ink in a small precise place like this to use the ball of your finger. That's what she does!
I think we're not quite done with our Core'dinations creations! More to come this weekend!
Pin It!

Guest Star Sharyn Tormanen!

Today we welcome Sharyn Tormanen and her mad cardmaking skillz to the Inspiration Blog! Sharyn writes, "This time of the year I gear up for graduation parties and start stocking up on congratulation cards. I'm looking forward to sending these out." I would say there are some lucky seniors out there who can look forward to receiving these beauties.
I have to say that the Red/Black Extension III Mini Papers are my all time favorites for cardmaking. This little classroom of children always looks so adorable on a card front.


And these new State Fair Plastic Ribbons couldn't be more perfect for congratulations/graduation cards . . .


Actually, the Be Our Guest Journaling Cards and Sentiments Bingo Cards are pretty perfect too! Thanks for the inspiration Sharyn! (psst . . . if you're looking for a great graduation gift for a golfer, check HERE for hand carved cleverness from Sharyn's husband).


Don't forget to check out the Core'dinations Blog today for more fabulous inspiration! Also, today is the last day to enter to win Core Amour HERE (and on the Core'dinations Blog). We'll be randomly choosing a winner this evening! Oh! and we'll be back with another Jenni Tip this afternoon! See you then! :)
Pin It!

Thursday, April 7, 2011

Jenni Bowlin Core'dinations Tip #4

I believe the tip here is to let your Core'dinations Cardstock take center stage once in a while. With super cool scissor action, this simple layout is simply brilliant!
Pin It!

Guest Star Bridgette Truong!

Today we welcome Bridgette Truong to the Inspiration Blog! She writes, "For my JBS Core'dinations post today, I altered a photo wall hanging I have had for awhile. It includes many of my favorite photos taken over the last 6 months. I wanted to dress it up a bit, so I added a title, filled some empty spots, and removed one of the pictures to insert a mini scrapbook page. I used this cardstock pad, dies, and some sandpaper to create these items!Please excuse some of the pictures. I tried my best, but some of the reflections off the plastic I just couldn't avoid. This is the view from my front door, so everyone can see it as they walk in!"
What an awesome way to display current favorites for family and friends to say. I love how the photos in the display can be switched out easily and frequently as the seasons change and the children grow. Thanks for the inspiration Bridgette!


Don't forget to enter to win your own JBS Core'dinations HERE! And be sure to check the Core'dinations Blog for more inspiration and another chance to win! We'll be back with another Jenni tip this afternoon!


Pin It!

Wednesday, April 6, 2011

More Core'dinations Fun!

This week you've seen some of Jenni's tips on making the most of your Core'dinations embossed cardstock. I wanted to share a quick tip as well and all you need is an ink pad and your cardstock! I created this page using the Uncle Jim pattern in Butter Churn (from the Jenni Bowlin Everyday Collection):

To make the embossed portion of the cardstock more evident, I used the Lemon Drops ink pad and lightly rubbed it over the sheet of cardstock:

I love how easily a swipe of ink pulls out the wonderful details! Then I used my trusty clear ruler and knife to cut the sheet into ruler strips:


I trimmed the strips a bit and staggered them on the page, creating a background for my photos. I snuck in a few other colors by adding scallop-punched strips of cardstock in pink, aqua and green (the aqua and green are from the Core'dinations Jenni Bowlin Vintage Brights Collection.)

For my title, I combined some Cardstock Alpha Stickers with a die-cut title. The flower was made from tissue paper, ribbon and a button, all from this month's project kit. The butterfly was cut from the Aquarium Butterfly Core (also in the Vintage Brights Collection.)

We'd love to see how you use the Jenni Bowlin Core'dinations, so post your creations in the JBS Gallery! And don't forget about our Core'dinations Giveaway for your chance to win the newest collection. Happy Scrapping!
Pin It!

Jenni Bowlin Core'dinations Tip #3

Today's tip from Jenni is to use Ranger Stickles Glitter Glue on the embossed edges of the Core'dinations Cardstock for an elegant finishing touch. Here she lightly sanded the star to reveal the inner core and then used Stickles to give it just a little added sparkle.

Guess what! If you're a local you can come hang out with Jenni at the Warehouse Sale this Saturday! and if you're not a local (or even if you are) you can come hang out with some of the design team at an online mini-crop Saturday evening. Hope to "see" you soon!


Pin It!