Showing posts with label Silhouette. Show all posts

Saturday, September 20, 2014

Cassie and the Cutting File

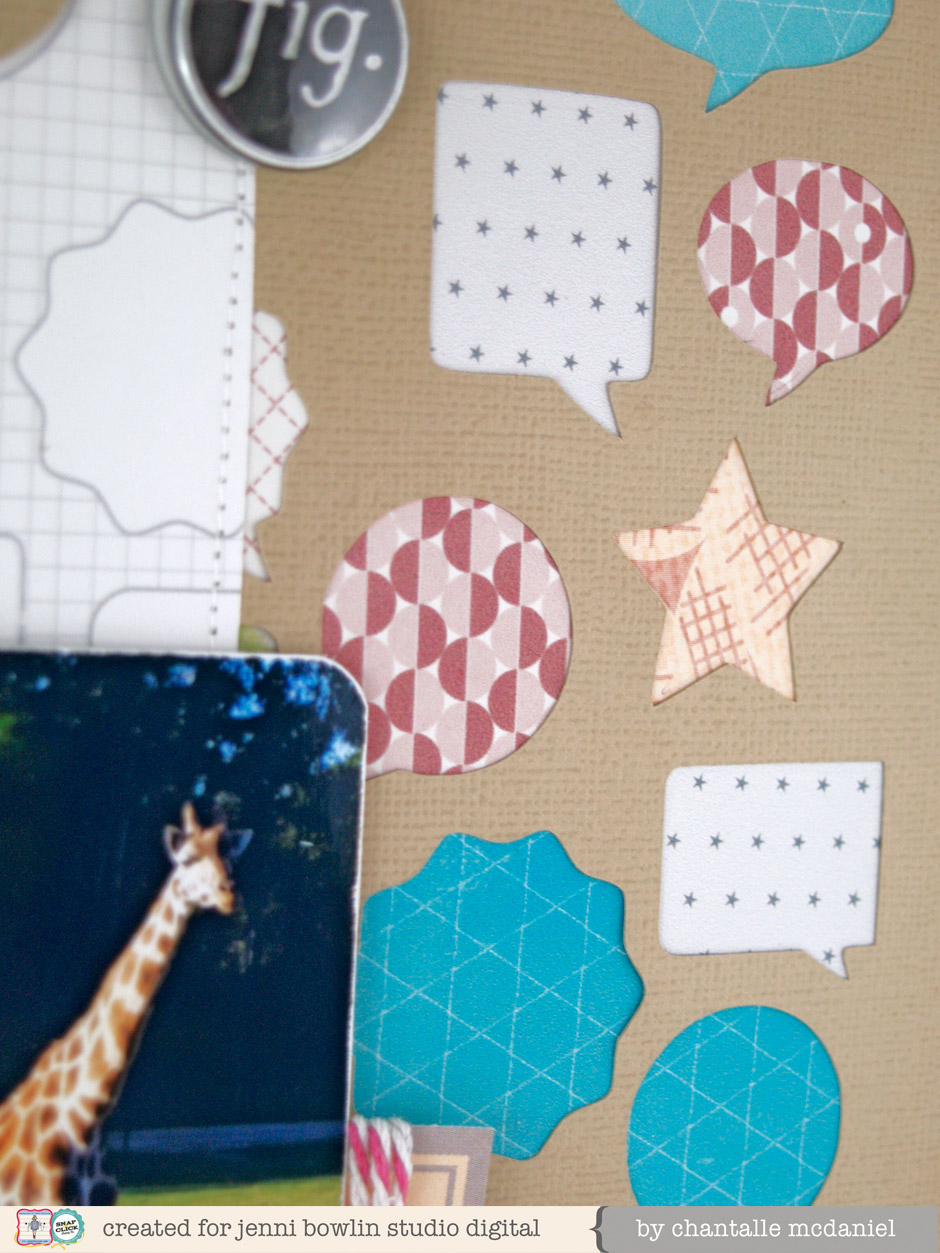
We have a new kit on sale this weekend and this kit can be used three ways:  as a brush, cut file, or digital mask.


Cassie Wiscarson used the cutting files (.dxf or .svg) included in the kit to make this sweet layout:


Here's how Cassie used the files.  She took the Diamond Design file, enlarged it to fit a 12x12 sheet of cardstock, cut it out with her digital cutting machine and then traced the images onto her white background.

She then took the Variegated Chevron file and cut it onto a smaller piece of cardstock and sprayed it with ink.  This became her mat for her photo.

Our brush*cut*mask files come with 4 file types so digital scrapbookers and traditional scrapbookers with cutting machines can use them alike.  Thank you Cassie for showing us creative ways to use our new kit!  Grab it this weekend while it's on sale!  

Other supplies used:

Rub-Ons - Pennants - Gold

Rub-Ons - Scattered Stars - Gold

Rub-Ons - Dominos - Gold


Skinny Alpha Stickers - Red

Die-Cut and Perforated Papers - Tags Sheet


Pin It!

Wednesday, July 9, 2014

Get a Double Scoop on your Digital Stash


Snap Click Supply Co. is doubling up on their products for sale on Wednesdays through the entire month of July!

Here's what JBS is offering on sale in their digital shoppe today:


Check out this sale link and you'll see everything!

Chantalle McDaniel has a wonderful hybrid layout using some of the products from the sale kits above and other JBS supplies.  She show us step by step how she created her own cut file from the paper in our Boardwalk kit.  What a great idea Chantalle!


The speech bubble print on this Boardwalk paper inspired me to create a continuous pattern on my page. I have created a cut file from the shapes on the paper, using Photoshop and Silhouette Studio.

• Start by opening the file in Photoshop
• Using the magic wand tool, select areas that you wish to use (works best on solid fills)
• Copy the selection and past in a new document
• If the fill is white, give it a different fill colour so it will stand out in Studio
• Save your file (jpeg or png etc)


Now open Silhouette Studio

• Open the file you just created in Photoshop
• Select the area you would like to trace using the trace menu and choose ‘cut edge’
• Save your cut file and you are ready to go!


I have used a selection of papers from The Boardwalk Collection to matt the cut area.


Materials:

Digital:

JBS The Boardwalk Collection
JBS Vintage Mini Deck Animal Trivia

Traditional:

JBS Gold Pennants Rub-ons
JBS Gold Star Rub-ons
JBS Chalkboard Flatbacks
JBS Bloom Sequins
JBS Magpie ‘Gather’ paper
JBS Button Wood Veneer


Thank you Chantalle!  This is definitely a great tutorial to come back and refer to over and over! Pinned!

Pin It!

Monday, May 26, 2014

Brand New Cutting Files - Classic Backgrounds on Sale!

There is so much going on at SnapClickSupply.com!

You can find the new releases with sale prices through midnight tonight at this link.

Jenni Bowlin Studio released a GREAT new kit of cutting files:

http://www.snapclicksupply.com/new/classic-backgrounds/

You can use them with your Silhouette or other cutting machine and as brushes or masks for your digital scrapbooking.

Here are a couple of detailed shots of how I used these cutting files with my JBS Mercantile Monthly Kits:


And!  If you spend $5, you can get Part 2 of the Designer Samples Kit FREE.  This is one awesome kit!  Get all the info on getting this free kit here.

I used the free kit to create a hybrid layout by printing a digital page and adding my own embellishments:


You can see how I did it ... and why I started scrapbooking this way on the SnapClickSupplyCo blog right here!

Whew!  There are a lot of deals going on and so many layouts to make, so head on over and check it out!


Pin It!

Tuesday, February 12, 2013

Modern Mercantile | Mini Pattern Paper


One of my most favorite items in the newest line is the single sheet of Mini Patterns. There are so many different ways that you can use it! The simplest is to cut them apart separately, but you can also fold them expertly and make a mini book or cut some simple patterns like i did into each 4"x4" square which creates an entirely new piece of layered pattern paper.

The silhouette cameo is perfect for this (but you could also use one of martha's all over the page punches too) as the grid in the software makes it easy to pop your shapes into it so you know exactly where to cut, and exactly how far apart to space your shape, as i did with a simple heart that i created in photoshop and then loaded into my silhouette software as a .png file. 

Then I cut some 4" x 4" papers and added them behind the hearts to create some extra patterns (the ledger paper is from last month's antiquarian kit).


After creating the new background i added a few pictures and some simple embellishments. fast and easy but makes a big impact.

happy cutting!

Pin It!

Saturday, January 26, 2013

Seeing Stars

I love the versatility of background die cuts! They can add a subtle touch to the base of your layout, or they can be combined with patterned paper and embellishments to create a design focal point for your page.

I knew the star background from the Holiday Backdrops Kit Cuts would work perfectly with photos of my son's twelfth birthday. I enlarged it to 9.5 x 9.5 and cut it out of white cardstock, backing several of the stars with papers from the new Modern Mercantile line, as well as the bicycle mini paper from the Magpie collection.
My photos were adhered to the left side of the die cut and I backed the whole thing with the light blue patterned paper from the Modern Mercantile collection. For my title, I used the new Printer's Block Alpha rub-ons applied to one of the larger stars:

A piece of teal twill tape across the center of the die cut adds contract and leads the eye to my journaling tags, which I've slipped behind the die cut to keep the page design clean and uncluttered:

Because the die cut portion of my page has been adhered with foam squares, there is room to easily slide the journaling cards underneath them.

Finally, I added two of the domino chipboard pieces to the upper right corner of my die cut. The two "six" pieces were perfect to indicate my son's age:

Be sure to check out all of the background die cuts (and many other designs!) in the Kit Cuts section of the JBS Mercantile.

Happy Scrapping!


Pin It!

Thursday, January 17, 2013

cuts! feathers and stars and more!

Hi everyone! This is Ashley today, and I'm excited to share with you my first-ever pages using JBS cut files!

Having recently received my first die cutting machine for Christmas from my mom -- a Silhouette Cameo -- I was super excited to finally get to use those awesome JBS digital cut files that come out each month! Awesome! I was so excited, in fact, that I just couldn't stop cutting and made three layouts for this months' blog theme. 

For my first page, Any Ducks? No Ducks. I used two different JBS cut files. I used the stars from Backdrops 1 (JBS Mercantile November 2012 kit), and a feather from the January 2013 JBS Mercantile papercrafting kit
For the layout base, I layered the stencil die cut paper over a JBS text paper from my stash. If you don't have this same text paper (I stocked up because they are amongst my FAVES!), you could use a text paper like the b-side of Peeling Paper from Haven.


I cut one of the January JBS kit feathers from bright yellow cardstock, and then covered it with confetti collected from my JBS paper scraps. This was a fun and easy way to dress up a plain cut!

I layered an overlapping row of stars from the Backdrops star file across the top of the layout. 

Supplies: stencil die cut paper; feather cut file; backdrops1 star cut file; General Store postage stickers; shadow alpha stickers vintage/black; Fiskars/Jenni Bowlin Blue Ribbon Large Squeeze Punch; true vintage buttons; chevron mask.
 For my next page below, happy little lunch eater, I layered two pieces of cut cardstock over a patterned paper background. The top aqua cardstock has many sizes of different feather styles cut from the files included in the JBS Mercantile January 2013 Papercrafting kit. This cardstock was actually the first thing I attempted to cut with my brand new Cameo, and I loved the way it looked even though I had originally intended on using the feathers I cut out, I used this piece instead. Under the cut-feather cardstock is a sheet of white cardstock cut with the triangle pattern included in Backdrops1
I layered the two cut cardstocks over the backside of Typing Lessons paper from the Wren collection.


This combination of layered cut paper happened quite by accident. I was cleaning up a mess of papers, trying to make room on my desk so I could actually DO something, and I stacked the cut-feather cardstock over the triangle-cut cardstock and placed on the huge stack of JBS papers I keep on my desk at the ready. It was LOVE IT at first sight. The rest of the page just fell into place once I saw those papers layered up.

In keeping with the blue/green base I had built with the cardstock and patterned paper background, I gathered together a bunch of favourite JBS products in blue. I used a chipboard file tab covered with a blue cardstock file tab Hodge Podge sticker; a blue Hear Ye Hear Ye banner, a blue star from an apothecary label sheet, and a chipboar star covered with chevron patterned paper. The rhinestone star added a nice little shiny touch to this embellishment cluster. I sanded, scratched, and scuffed up the round number stickers for the date.


My third page, Lines First, again uses cut files in two different ways. I again used the feather cuts from the JBS Mercantile January 2013 Papercrafting kit (seriously, I love feathers), but this time covered the feather in chunky silver glitter. I also made my own mask by using a left over portion of the Backdrops1 triangle cut used in the page above, but I layered it over the centre of the patterned paper and covered over the rest of the page and misted away in a light teal colour ink. And now I have teal coloured triangles to use on another page another time. :)

I started building the page on a piece of die cut label paper from the JBS Family Tree line. I love being able to use older papers from my stash! While I always scramble to buy the latest and greatest JBS products, I do also love how truly timeless they are! And I am really regretting that this is the last piece of this paper I owned! I added in a die cut label from the polka dot journalling card pad. I also added in a little strip of die cut and perforated stamp paper to host the title. 

This is a fun and easy way to make your own glittered cuts! Just cut out the desired shape, then coat liberally with Mod Podge, and dunk into your favourite glitter. I paired the glittered feather cut with a JBS cardstock feather embellishment, and topped both off with little bows. The star on the house was an extra that didn't make it onto the Any Ducks? No Ducks. page above, cut from the Backdrops1 star pattern.

Here is a closer look at the masked and misted triangles. Love the possibilities of being able to cut my own masks now! 


-- Ashley.
Pin It!

Sunday, January 6, 2013

Layers, Layers, and More Layers!

Hi, Tina here today with one of my favorite types of layouts to create!  Layers, Layers, and more Layers!  I love how little peeks of color and pattern look behind photos and embellishments. 


Supply List:

JBS
Coredinations - Black Magic Collection
 
To kick it up a notch, I added several JBS Digital cut files, “under, in between, and on top of” the layers of patterned paper.  I love how the colors and pattern ‘pop out’ from behind the die cut design.  It really adds such great visual interest and fantastic texture.


In addition to layering several designs and colors, I love to layer several types of embellishments on top of, and around the layers of paper.  Stickers, die-cuts, chipboard embellishments – anything goes!  My latest obsession is to adhere my photos and embellishments with foam tape.  I love the dimension it creates. 


Lastly, I typed my 'title' - 'Let sleeping dogs lie' on a sticker and adhered it to my page with more foam tape.  I just LOVE to use my vintage typewriter for journaling and title work.


So pull out those patterned papers and use those Digital cut files and create something fabulous!  Please share them on our Customer Gallery board!  We would love to see them.


Pin It!