Showing posts with label sequins. Show all posts

Thursday, August 28, 2014

August Kits plus wood plus sequins :) :) :)

Hello hello :)

Today I would like to share with you some layouts that I have created using the August Papercrafting and Antiquarian kits; plus some fabulous Jenni Bowlin Studio wood and sequin products :) :) :)

Some of the wood products have been past kit inclusives, those that are available for purchase form the Mercantile,  I have included images of.

Seriously what is not to love about the JBS wood and sequin embellishments?!!!! I lurve them :) :) :)
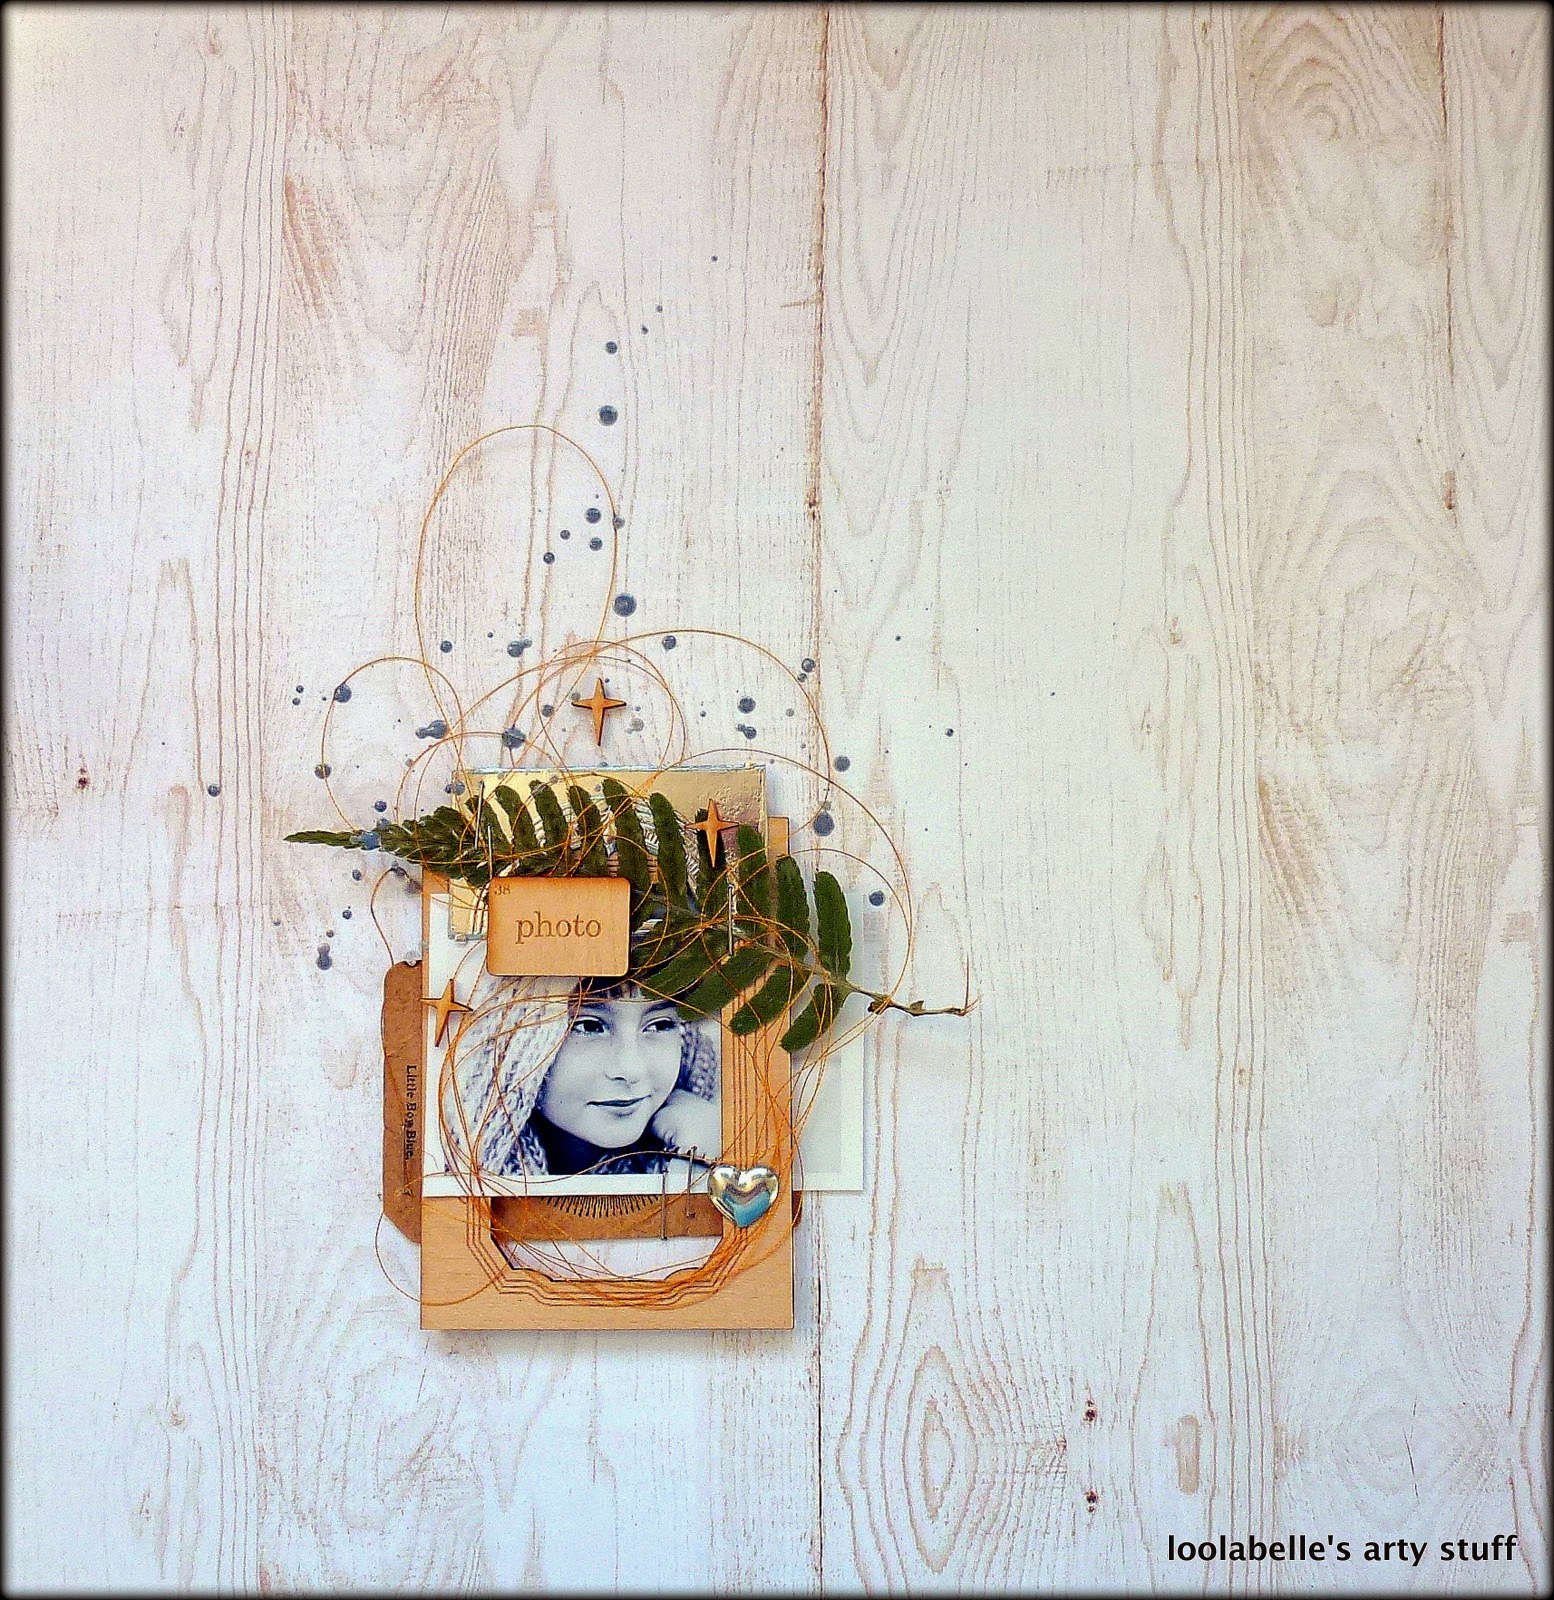

The wooden frame is an August kit inclusive :) :) :)


So that is it from me for the mo, I do hope you are loving the teams inspiring creativity this month?! It is all kinds of fabulous :) :) :)

Cheers and happy scrapping,

Louise :) xxx

Pin It!

Tuesday, May 20, 2014

getting messy in the studio with ink bubbles


I had so much fun stepping into the studio space with our boys to play around a bit and make this piece. It reminded me of some of the fun things I did when I was in grade school - and also took me to a place where I was having fun and experimenting with my artwork - something that I've been working on doing in the classes I'm taking. I also added a bit of free motion stitching on top of the bubbles, but ended up covering all but just a bit of that with my layout pieces...

Here's how we made the bubbles:


Add water and concentrated ink (reinker for ink pads) or paint to a plate, and then add just a drop of dish detergent.


Using a straw, blow bubbles until you get a whole pile of them.


Once you have a whole bunch, gently lay your paper on top. It may take a few tries to get the right amount of ink bubbles on your paper.


Either allow your paper to dry on it's own, or apply a heat gun to dry out the ink.


This created a random, soft and subtle background for my layout piece. If you use paint, the effect will be must stronger...


I then added my random free motion stitching on top of my ink bubbles.


I finished by adding my embellishments on top...

Have fun getting messy!

~ Leah
Pin It!

Monday, May 12, 2014

My Kind of Messy :) :) :)

Heeeeeello Hello :) :) :)

What an awesome month for creative shares!!! I so so love the brief 'Get Messy'! Like I would say no LOL :)

With the layout I am sharing with you today I have used heaps of glorious product from the Mercantile! all the information is listed at the bottom of the blog post :).

To create my background I used one of the awesome Dina Wakley's masks; the 12 x 12 Boulders stencil. I have sprayed the stencil with both a white and grey mist and then stamped the mask on to the cardstock background, its as simple as that!!!!!

I have added extra splats of colour with Jenni Bowlin paints; which I applied with a small soft bristle paint brush :)


Aaaaaaand so would you like to know fabulous Jenni Bowlin Studio products I used???

Click on the image to link directly to the Mercantile :) :) :)


These flatbacks are sooooo TDF!!!! :)


What is not to love about these?!!!!!! :)


Well that is it from me for the Mo! I do hope you enjoy all the messy technique fun that will be on the blog this month!!!!!

Cheers and Happy Creating!!

Louise :) xx
Pin It!

Monday, April 14, 2014

New Product Focus: Wood Veneer & Sequins

I am loving all the new wood veneer designs and sparkly sequins in the newest JBS release! I knew they'd be the perfect embellishments for a page about our recent trip to Mexico, so I gathered up my favorites and got to work!


To create a beachy feel on the background, I lightly brushed it with Speckled Egg ink that I watered down.  Once it was dry, I used the Plus One Stencil with aqua acrylic paint and added some of the cross-hatch texture over the top.  I then cleaned out the stencil and used it again with a teal fine-tip marker to trace additional plus-signs around the painted areas.


I layered a few paper scraps down the center of the page and then arranged my wood frames vertically as well. I sized my four photos to fit inside the Insta-Frames, which will perfectly hold 2x2-inch prints. Adhering them with foam dots helps to pop them up off the wood a bit.


I used the Speech Bubbles stencil to trace shapes onto white cardstock. Then I cut them out with small scissors and used them to hold my journaling strips (also brushed with water down Speckled Egg ink.)


Finally, I sprinkled several of the wood veneer clouds, clear sequins, and flower sequins around the page. They add the ideal finishing touch to this vacation page!

The wood veneers, stencils, and sequins are now available online and in scrapbook stores. We'd love to see what your create with them!

Happy Scrapping!


Pin It!

Friday, March 14, 2014

White + Ivory + Gold

I recently challenged myself to try the elegant color combo of white, ivory and gold. I've seen beautiful layouts using this color scheme but haven't had quite the right photos to use with it. So when I saw these shots of our new tortoiseshell cat, Scout, I knew I had no excuse not to try it out!


I found the perfect supplies in this month's Mercantile Kits and several of the new JBS releases. On the ivory background, I used the new Scattered Stars and Pennant Rub-Ons.  These go on so smoothly and easily - just like butter!


I mounted my photos on a set of the wood veneer Book Covers, which provided a great matte that coordinated with my colors and provided a little dimension. I also layered several generic shipping tags and a Printed Kraft Tag, along with one of the Studio Calico acrylic overlays.  I love how they add a subtle touch of white but let my background show through. I used machine stitching to hold everything down and to form some subtle frames around my two photos. All of these supplies are from this month's Mini Album Kit !

For a finishing touch, I tucked in several pairs of the Crystal Clear sequins around the page (also in the Mini Album Kit ).  I really love their iridescent shimmer and shine!


So if you're inspired to try out the ivory + white + gold color combo, the new JBS projects are a great place to start! Several of this month's Mercantile Kits contain the new releases, and they are now available at several online retailers.

Happy Scrapping!


Pin It!

Tuesday, December 17, 2013

a holiday hotel key holder


I finally had a moment to update my hotel key holder this morning for the holidays! Yay! If you've been following along on my personal blog, I posted a mood board for my holiday projects this year, and I'm really happy with how everything has come together.


I love this hotel key holder - it hangs in our dining room and is easy to update for the seasons  with little bits and projects...


I loved the German foil pieces in the December mini album kit - they were such a great touch for the board!

Happy Holidays! 

~ Leah

Pin It!

Thursday, November 21, 2013

an album to express my gratitude


As I sat down to create this journal, I was struck by how grateful I am that I have the opportunity to work with companies (and people!) like Jenni Bowlin that embrace the style of my work, and what I love! It makes creating such an enjoyable process, and I'm thankful.


I'm just sharing a simple mini album today that I created using the naked chipboard album - a place to add a couple of photos, and a few words to express the things that I'm most grateful for this year. I haven't added the photos, yet - but you can see where I penciled notes to myself on where I'm planning to add them.

Bits of burlap, felt and gold merge for beautiful texture on this project.

And feathers. Sigh. I still love them.

I couldn't resist adding little bits of foil accents from past Mercantile kits...


Happy creating!

~ Leah
Pin It!